You use Virtual Private Cloud (VPC) peering to ensure that your Timescale Cloud services are only accessible through your secured AWS infrastructure. This reduces the potential attack vector surface and improves security.
The data isolation architecture that ensures a highly secure connection between your apps and Timescale Cloud is:

Your customer apps run inside your AWS Customer VPC, your Timescale Cloud services always run inside the secure Timescale Cloud VPC. You control secure communication between apps in your VPC and your services using a dedicated Peering VPC. The AWS PrivateLink connecting Timescale Cloud VPC to the dedicated Peering VPC gives the same level of protection as using a direct AWS PrivateLink connection. It only enables communication to be initiated from your Customer VPC to services running in the Timescale Cloud VPC. Timescale Cloud cannot initiate communication with your VPC.
To configure this secure connection, you first create the Timescale Cloud Peering VPC with AWS PrivateLink in Timescale Console. After you have accepted and configured the peering connection to your Customer VPC, you use AWS Security Groups to restrict the services in your Customer VPC that are visible to the Peering VPC. The last step is to attach individual services to the Peering VPC.
You define each Timescale Cloud VPC on a Timescale Cloud project level.
You can attach:
Up to 50 Customer VPCs to a Timescale Cloud VPC.
A Timescale Cloud service to a single Timescale Cloud VPC at a time.
The service and VPC must be in the same AWS region. However, you can peer a Customer VPC and a Timescale Cloud VPC that are in different regions.
Multiple Timescale Cloud services to the same Timescale Cloud VPC.
You cannot attach a Timescale Cloud service to multiple Timescale Cloud VPCs at the same time.
The number of Timescale Cloud VPCs you can create in your project depends on your pricing plan. If you need another Timescale Cloud VPC, either contact support@timescale.com or change your pricing plan in Timescale Console.
In order to set up VPC peering you need the following permissions in your AWS account:
- Accept VPC peering requests
- Configure route table rules
- Configure security group and firewall rules
To connect to a Timescale Cloud service using VPC peering, your apps and infrastructure must be already running in an Amazon Web Services (AWS) VPC. You can peer your VPC from any AWS region. However, your Timescale Cloud VPC must be within one of the Cloud-supported regions.
The stages to create a secured connection between Timescale Cloud services and your AWS infrastructure are:
- Create a Peering VPC in Timescale Console
- Complete the VPC connection in your AWS
- Set up security groups in your AWS
- Attach a Timescale Service to the Peering VPC
Create the VPC and the peering connection that enables you to securely route traffic between Timescale Cloud and your own VPC in a logically isolated virtual network.
In Timescale Console > Security > VPC, click
Create a VPC.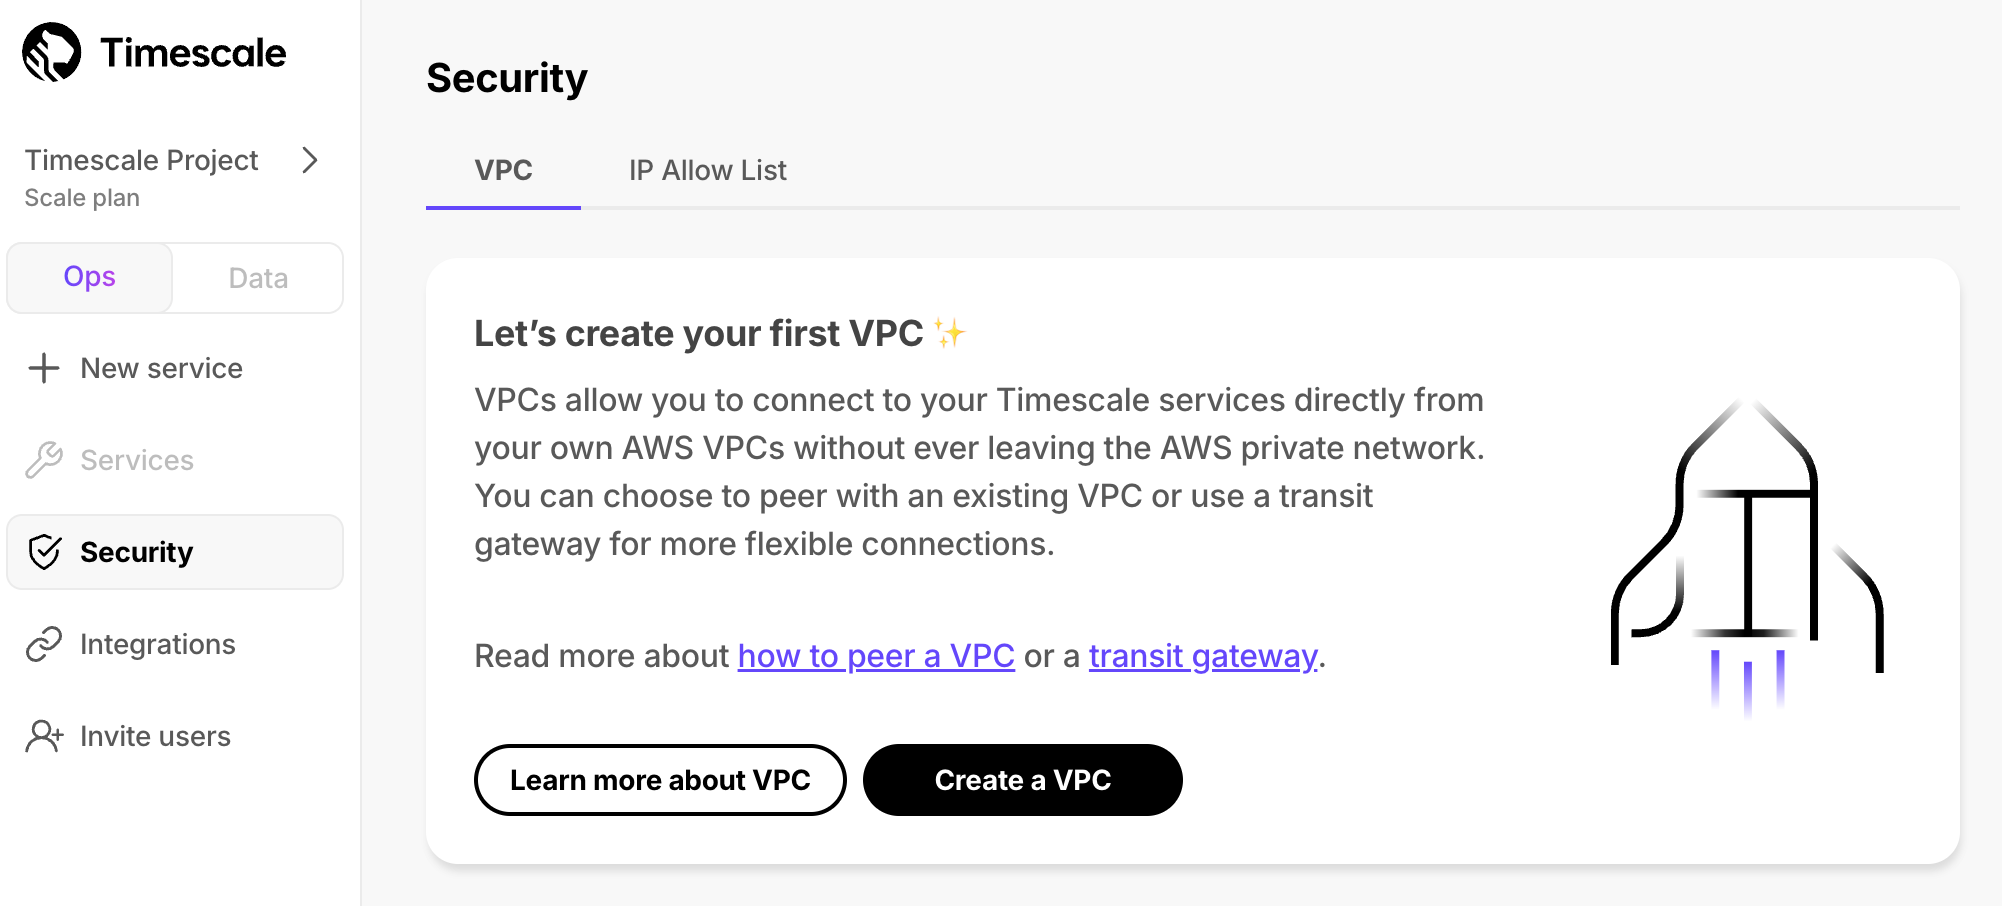
You can attach:
- Up to 50 Customer VPCs to a Timescale Cloud VPC.
- A Timescale Cloud service to a single Timescale Cloud VPC at a time.
The service and VPC must be in the same AWS region. However, you can peer a Customer VPC and a Timescale Cloud VPC that are in different regions.
- Multiple Timescale Cloud services to the same Timescale Cloud VPC.
- You cannot attach a Timescale Cloud service to multiple Timescale Cloud VPCs at the same time.
The number of Timescale Cloud VPCs you can create in your project depends on your pricing plan. If you need another Timescale Cloud VPC, either contact support@timescale.com or change your pricing plan in Timescale Console.
Choose your region and IP range, name your VPC, then click
Create VPC.
The IP ranges of the Peering VPC and Customer VPC should not overlap.
For as many peering connections as you need:
In the
VPC Peeringcolumn, clickAdd.Enter information about your existing AWS VPC, then click
Add Connection.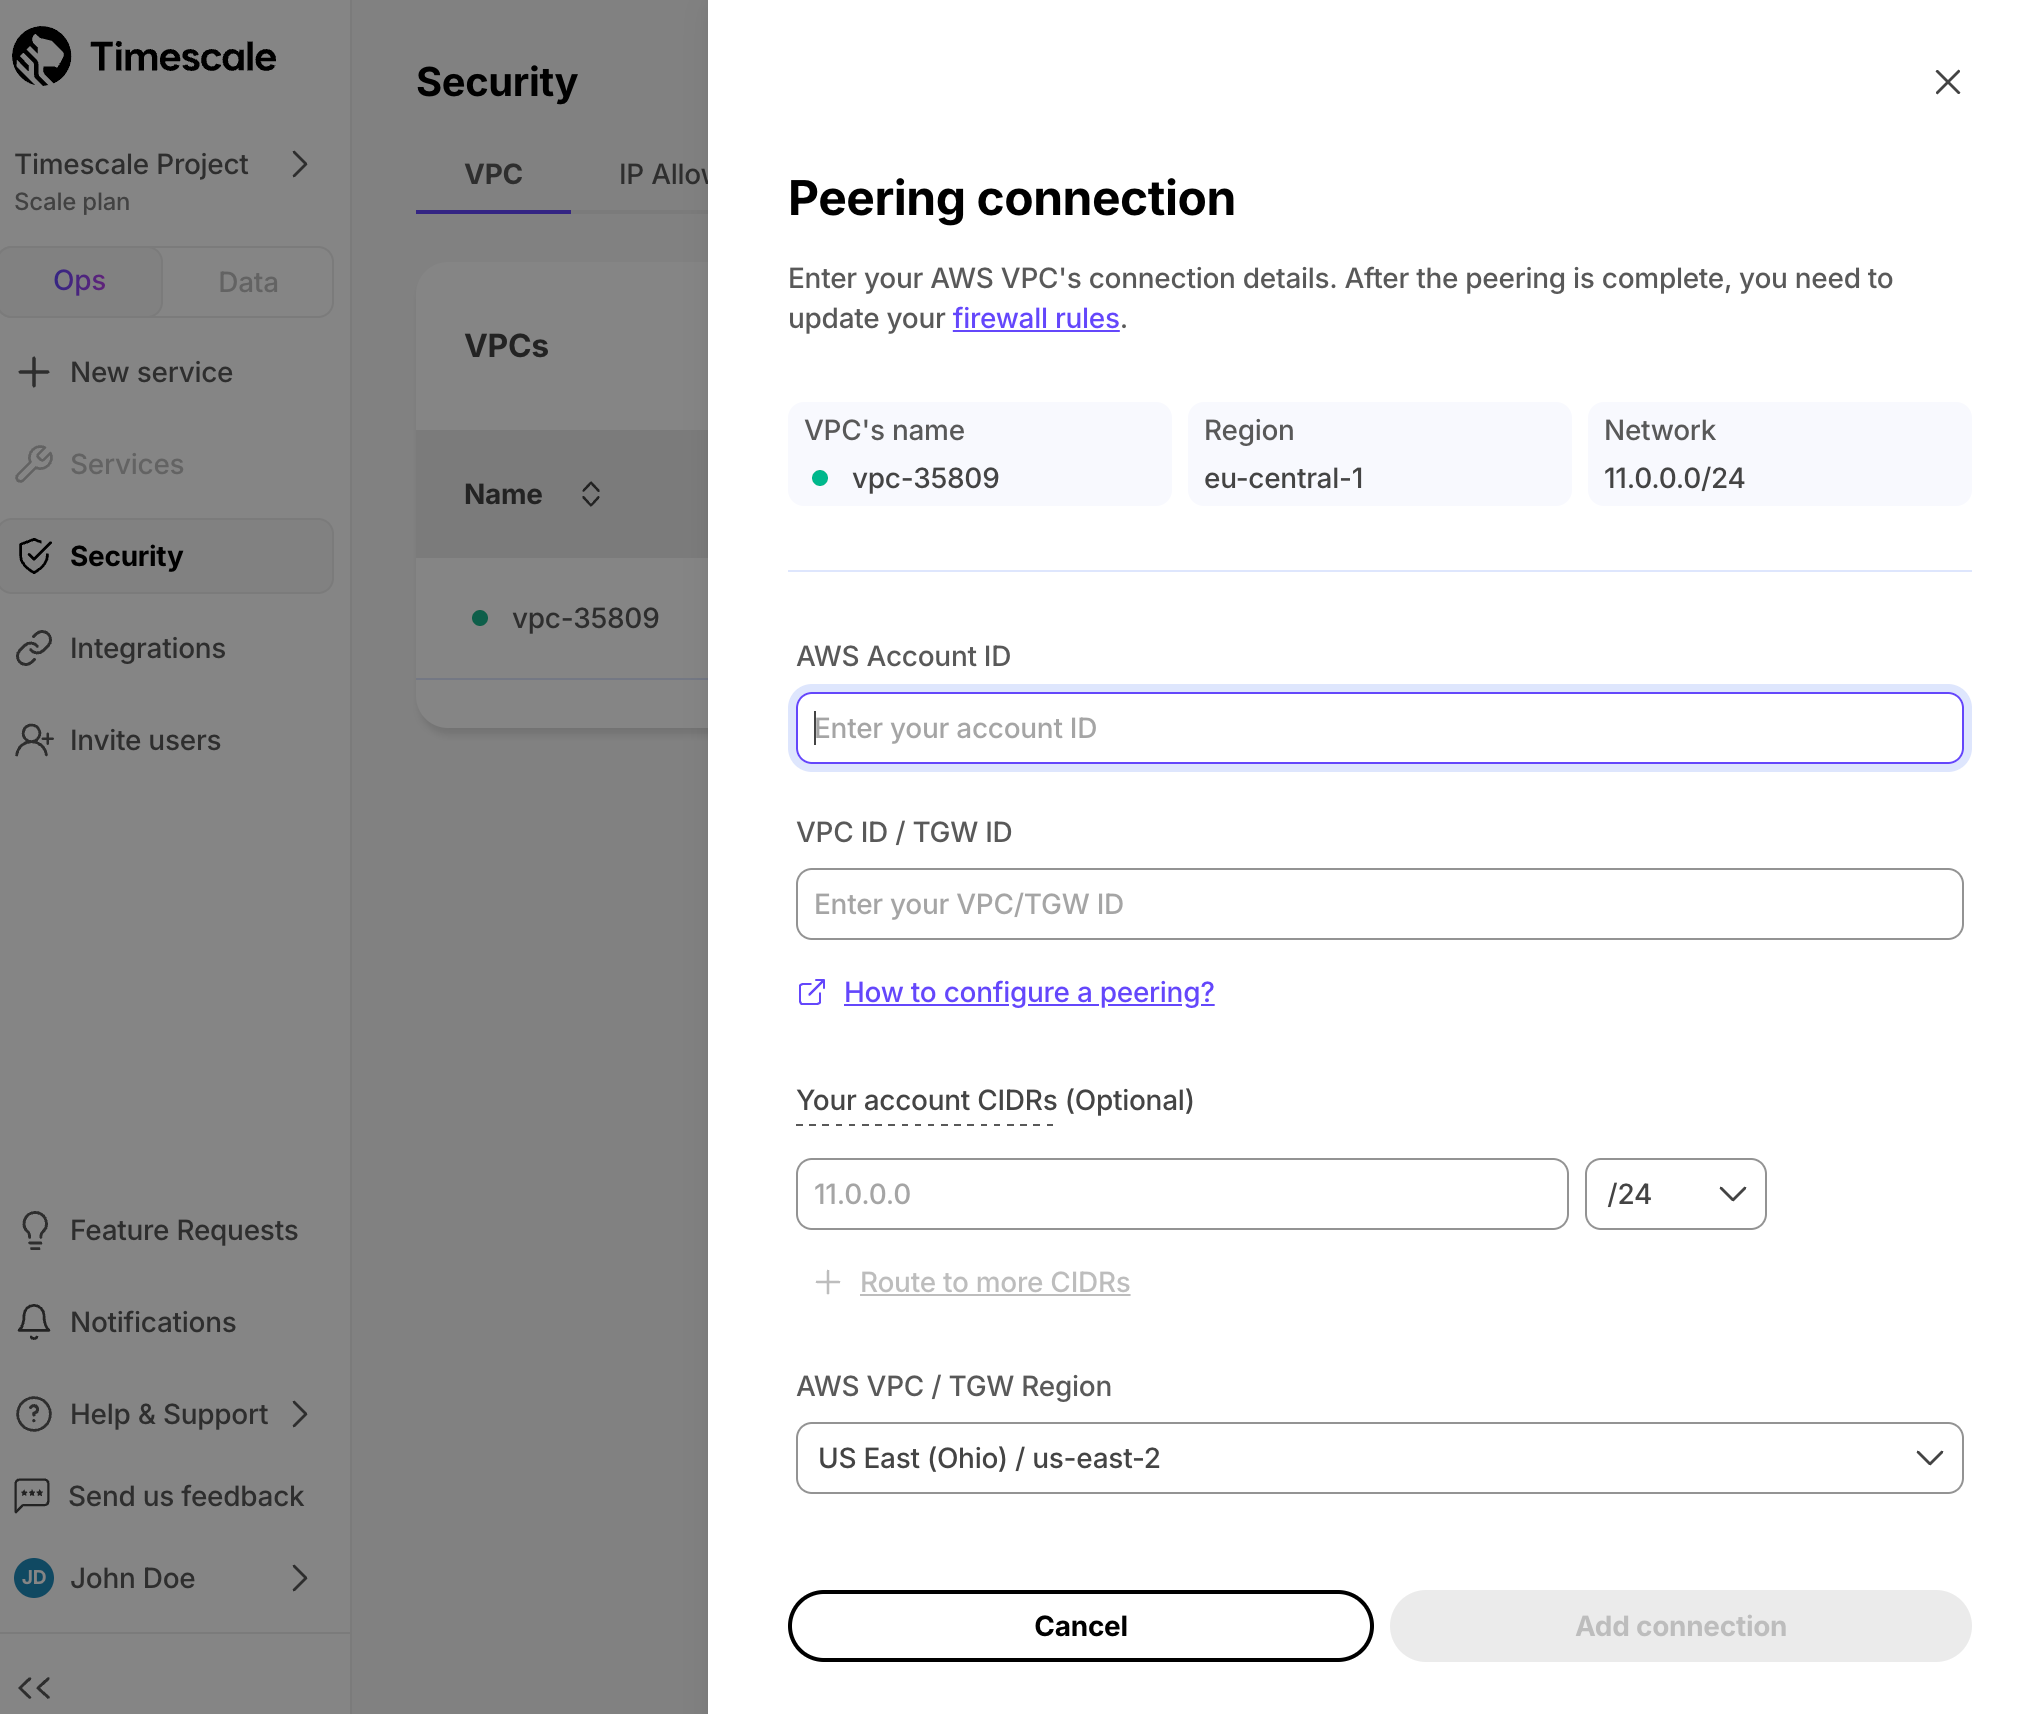
Timescale Cloud sends a peering request to your AWS account so you can complete the VPC connection in AWS.
When you receive the Timescale Cloud peering request in AWS, edit your routing table to match
the IP Range and CIDR block between your AWS and Timescale Cloud VPCs.
When you peer a VPC with multiple CIDRs, all CIDRs are added to the Timescale Cloud rules automatically. After you have finished peering, further changes in your VPC's CIDRs are not detected automatically. If you need to refresh the CIDRs, please recreate the peering connection.
The request acceptance process is an important safety mechanism. Do not accept a peering request from an unknown account.
In AWS > VPC Dashboard > Peering connections, select the peering connection request from Timescale Cloud.
Copy the peering connection ID to the clipboard. The connection request starts with
pcx-.In the peering connection, click
Route Tables, then select theRoute Table IDthat corresponds to your VPC.In
Routes, clickEdit routes. You see the list of existing Destinations..
If you do not already have a destination that corresponds to the
IP range / CIDR blockof your Timescale VPC:- Click
Add route, and set:Destination: the CIDR block of your Timescale VPC. For example:10.0.0.7/17.Target: the peering connection ID you copied to your clipboard.
- Click
Save changes.
- Click
Network traffic is secured between your AWS account and Timescale Cloud for this project.
Security groups allow specific inbound and outbound traffic at the resource level. You can associate a VPC with one or more security groups and each instance in your VPC may belong to a different set of security groups. The security group choices for your VPC are:
- Create a security group to use for your Timescale Cloud VPC only.
- Associate your VPC with an existing security group.
- Do nothing, your VPC is automatically associated with the default one.
To create a security group specific to your Timescale Cloud VPC:
AWS > VPC Dashboard > Security Groups, click
Create security group.Enter the rules for this security group:
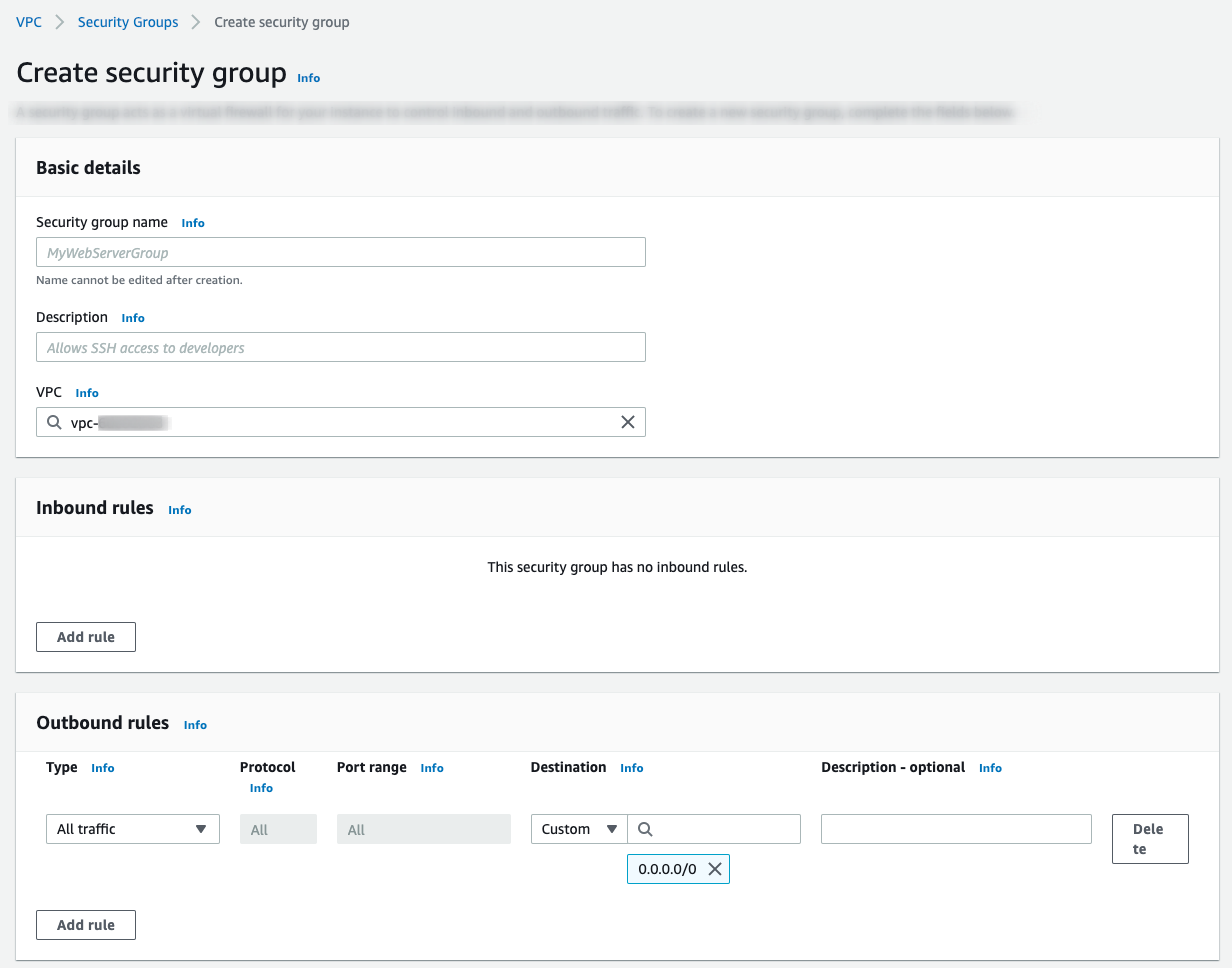
VPC: select the VPC that is peered with Timescale.Inbound rules: leave empty.Outbound rules:Type:Custom TCPProtocol:TCPPort range:5432Destination:CustomInfo: the CIDR block of your Timescale Cloud VPC.
Click
Add rule, then clickCreate security group.
Now that Timescale Cloud is communicating securely with your AWS infrastructure, you can attach one or more services to the VPC.
After you attach a service to a VPC, you can only access it through the peered AWS VPC. It is no longer accessible using the public internet.
- In Timescale Console > Services select the service you want to connect to the VPC.
- Click
Security>VPC. - Select the VPC, then click
Attach VPC.
And that is it, your service is now securely communicating with your AWS account inside a VPC.
To ensure that your applications continue to run without interruption, you keep service attached to the VPC. However, you can change the VPC your service is attached to, or disconnect from a VPC and enable access to the service from the public internet.
Info
Timescale Cloud uses a different DNS for services that are attached to a VPC. When you migrate a service between public access and a VPC, you need to update your connection string.
In Timescale Console > Services select the service to migrate.
If you don't have a service, create a new one.
Click
Security>VPC.Select the VPC, then click
Attach VPC.
Migration takes a few minutes to complete and requires a change to DNS settings for the Service. The service is not accessible during this time. If you receive a DNS error, allow some time for DNS propagation.
Keywords
Found an issue on this page?Report an issue or Edit this page in GitHub.