Timescale Cloud is a cloud-based PostgreSQL platform for resource-intensive workloads. We help you build faster, scale further, and stay under budget. A Timescale Cloud service is a single optimized 100% PostgreSQL database instance that you use as is, or extend with capabilities specific to your business needs. The available capabilities are:
- Time-series and analytics: PostgreSQL with TimescaleDB. The PostgreSQL you know and love, supercharged with functionality for storing and querying time-series data at scale for analytics and other use cases. Get faster time-based queries with hypertables, continuous aggregates, and columnar storage. Save on storage with native compression, data retention policies, and bottomless data tiering to Amazon S3.
- AI and vector: PostgreSQL with vector extensions. Use PostgreSQL as a vector database with purpose built extensions for building AI applications from start to scale. Get fast and accurate similarity search with the pgvector and pgvectorscale extensions. Create vector embeddings and perform LLM reasoning on your data with the pgai extension.
- PostgreSQL: the trusted industry-standard RDBMS. Ideal for applications requiring strong data consistency, complex relationships, and advanced querying capabilities. Get ACID compliance, extensive SQL support, JSON handling, and extensibility through custom functions, data types, and extensions. Timescale Cloud continuously monitors your services and prevents common PostgreSQL out-of-memory crashes.
All Timescale Cloud services include the tooling you expect for production and developer environments: live migration, automatic backups and PITR, high availability, read replicas, data forking, connection pooling, tiered storage, usage-based storage, secure in-Console SQL editing, service metrics and insights, streamlined maintenance, and much more.
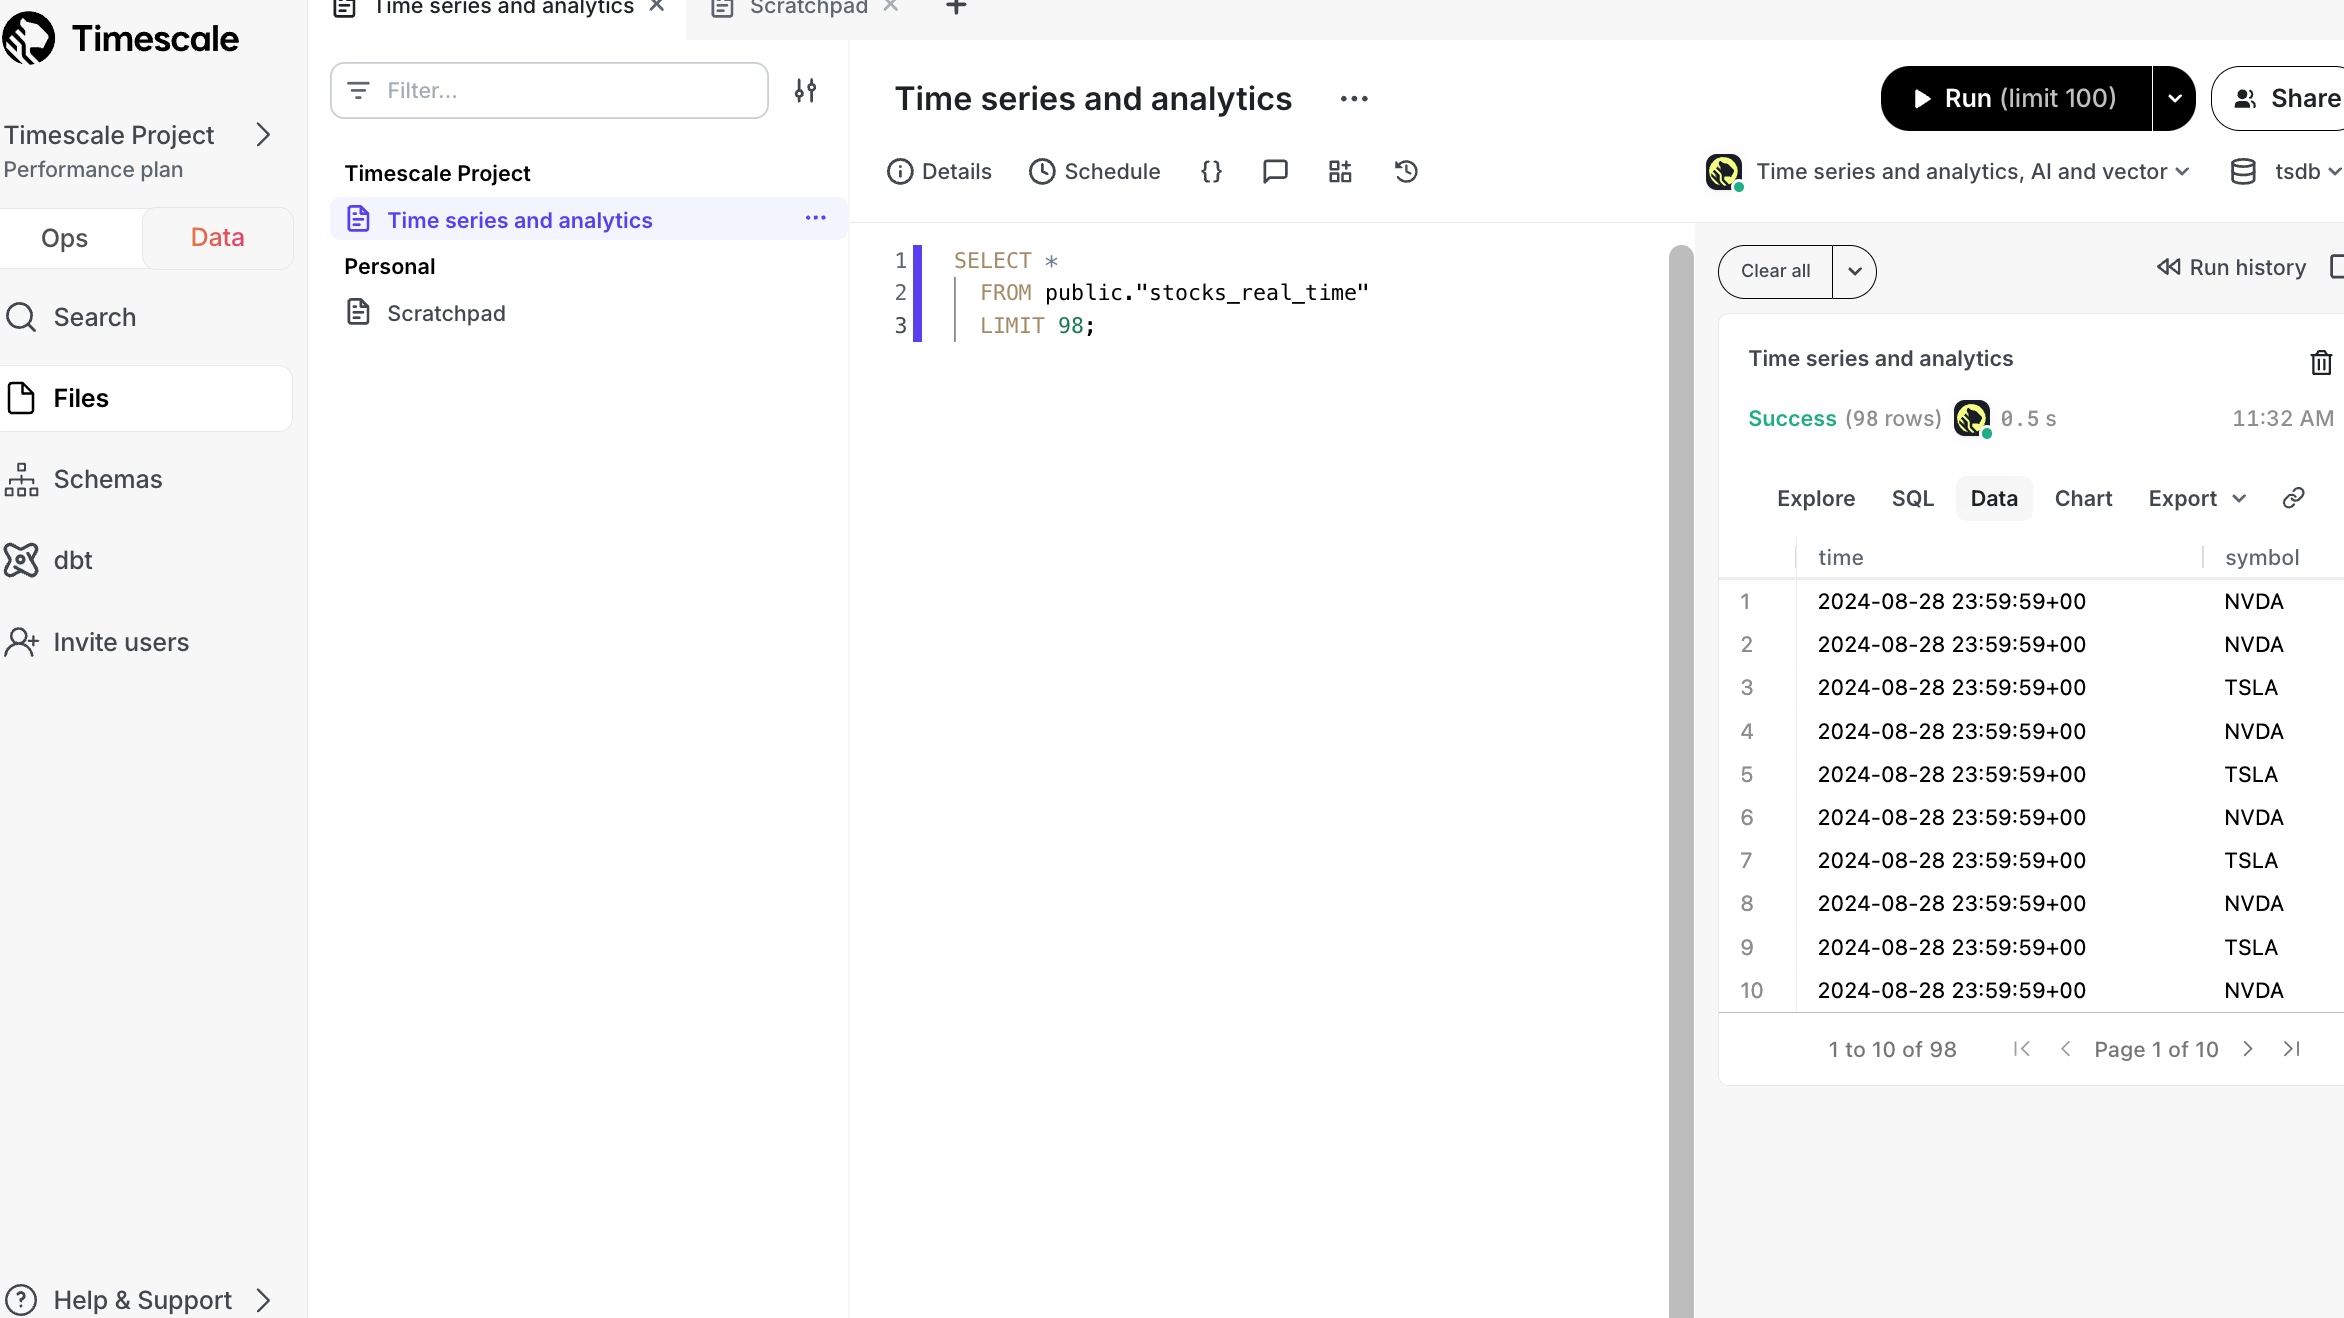
You manage your Timescale Cloud services and interact with your data in Timescale Console using the following modes:
| Ops mode | Data mode |
|---|---|
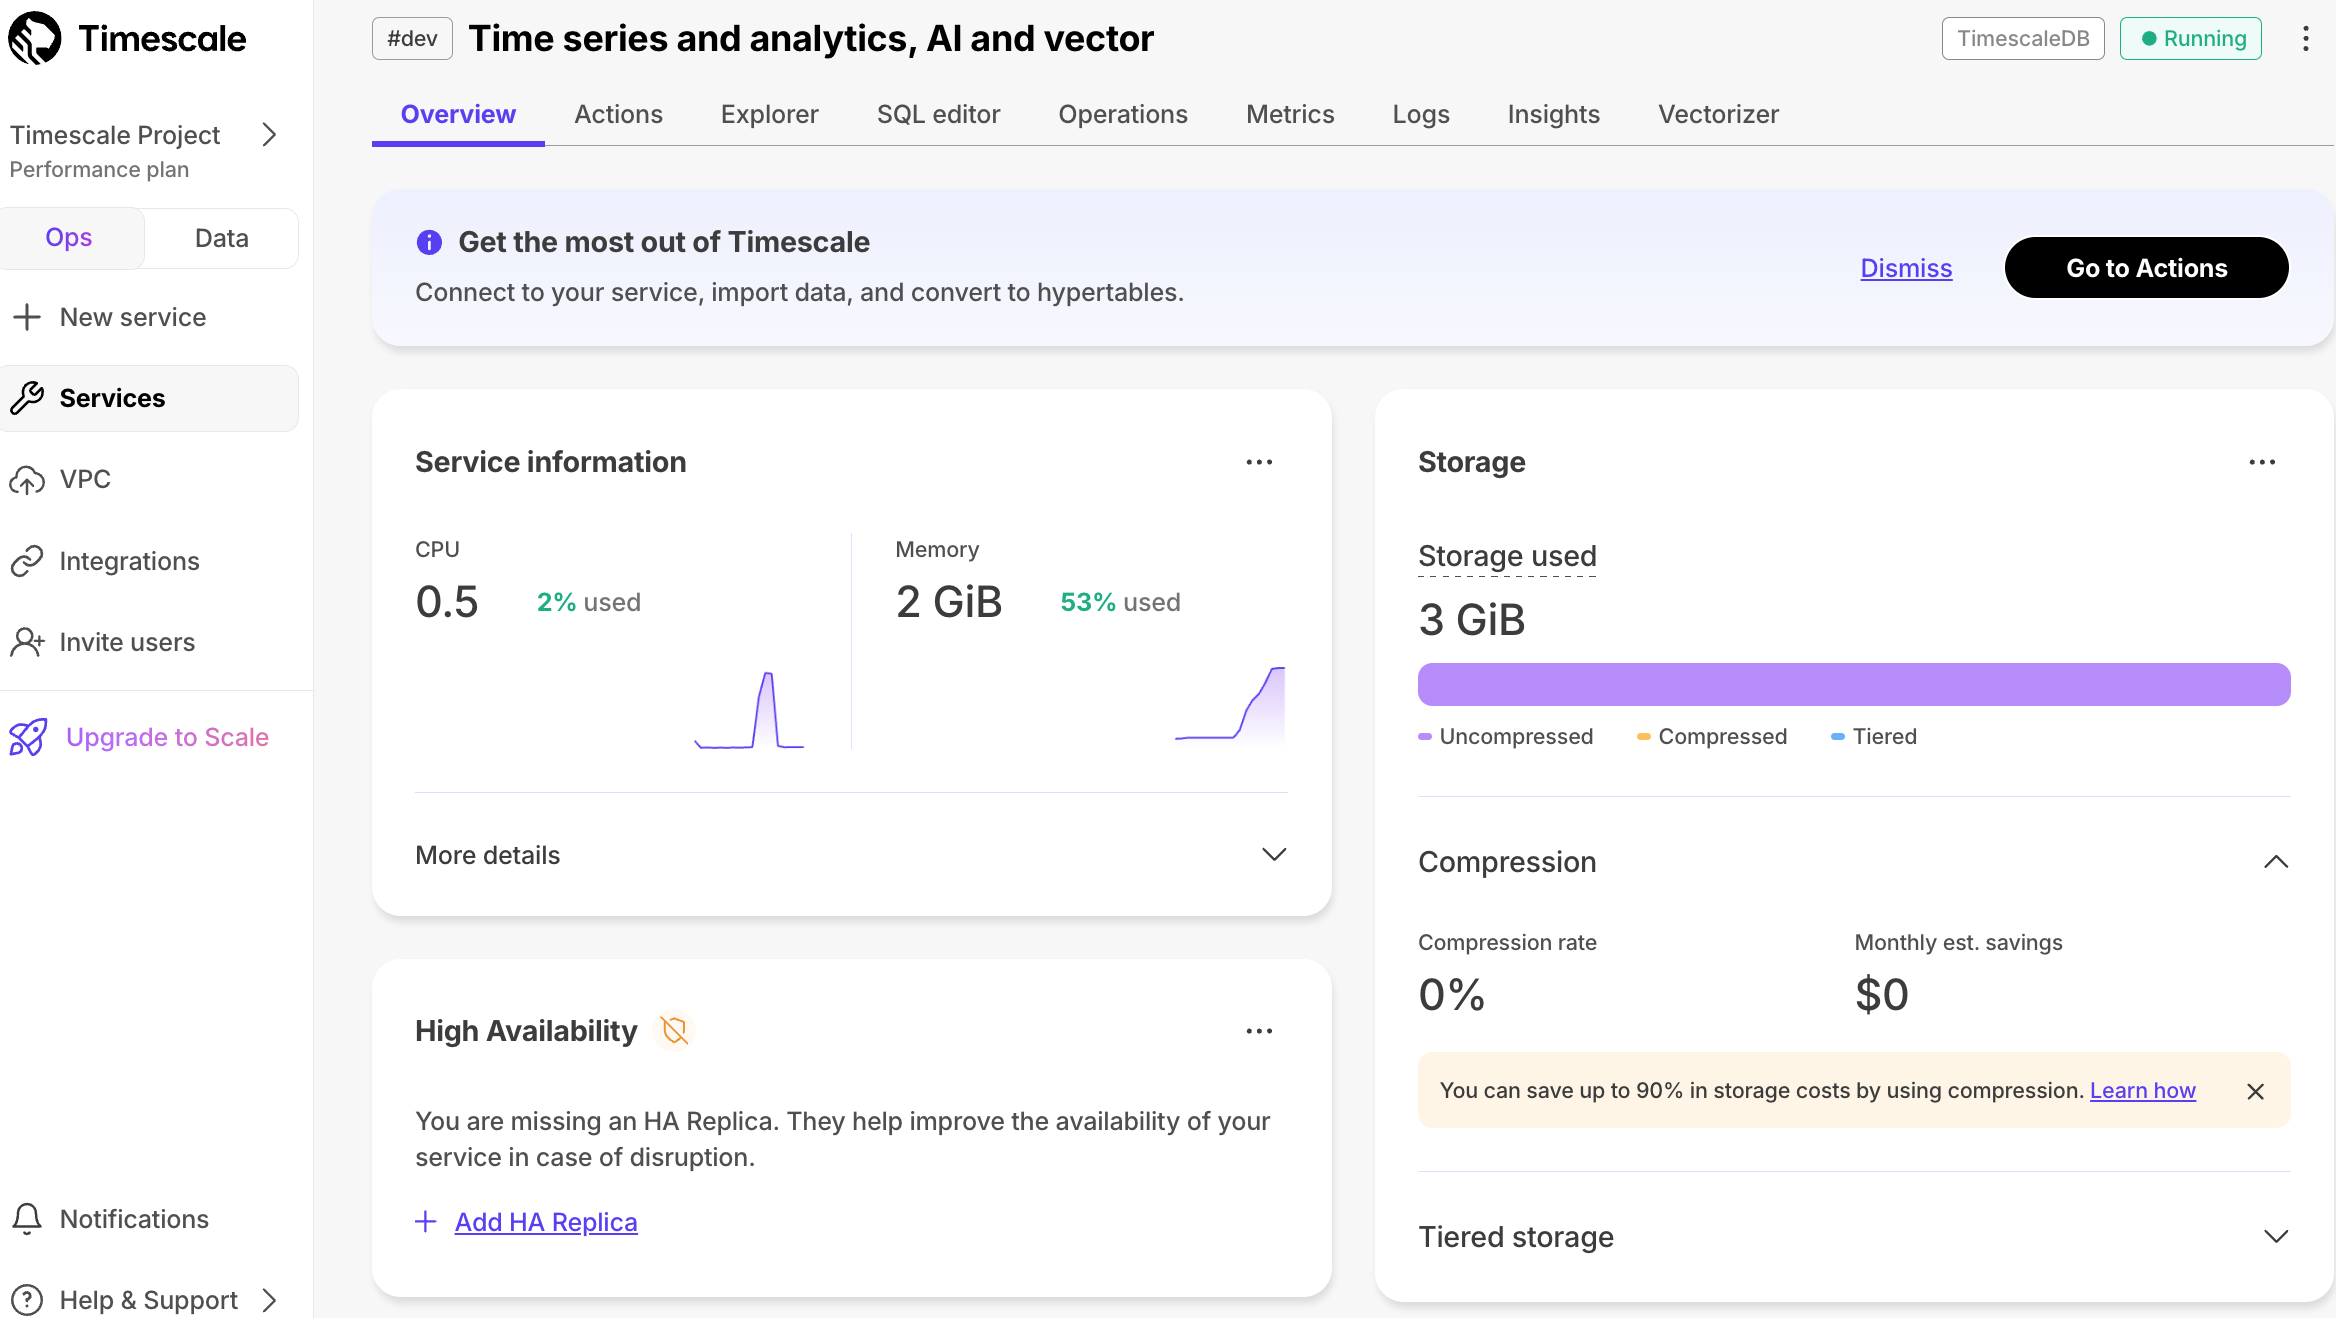 |  |
You use the ops mode to:
| Powered by PopSQL, you use the data mode to:
|
To start using Timescale Cloud for your data:
Create a Timescale account: register in Timescale Console to get a centralized point to administer and interact with your data.
Create a Timescale Cloud service: that is, a PostgreSQL database instance, powered by TimescaleDB, built for production, and extended with cloud features like transparent data tiering to object storage.
Connect to your Timescale Cloud service: to run queries, add and migrate your data from other sources.
Create a hypertable: create a standard PostgreSQL table in your service, then convert it into a hypertable.
Anything you can do with regular PostgreSQL tables, you can do with hypertables, just with better performance and improved user experience for time-series data.
You create a Timescale Cloud account to manage your services and data in a centralized and efficient manner. From Timescale Console you can create and delete services, run queries, manage access and billing, integrate other services, contact support, and more.
To set up Timescale:
Sign up for a 30 day free trial.
You receive a confirmation email in your inbox.
In the confirmation email, click the link supplied and sign in to Timescale Console.
Answer the requirements questions, they help us optimize the Timescale service for your use case. You can now create a Timescale service.
Now that you have an active Timescale account, you create and manage your services in Timescale Console. When you create a service, you give a structure for your future data, which you then add manually or migrate from other services. All relevant Timescale Cloud features under your pricing plan are automatically available when you create a service.
In the service creation page, choose the PostgreSQL service or add
Time-series and analyticsandAI and Vectorcapabilities. ClickSave and continue.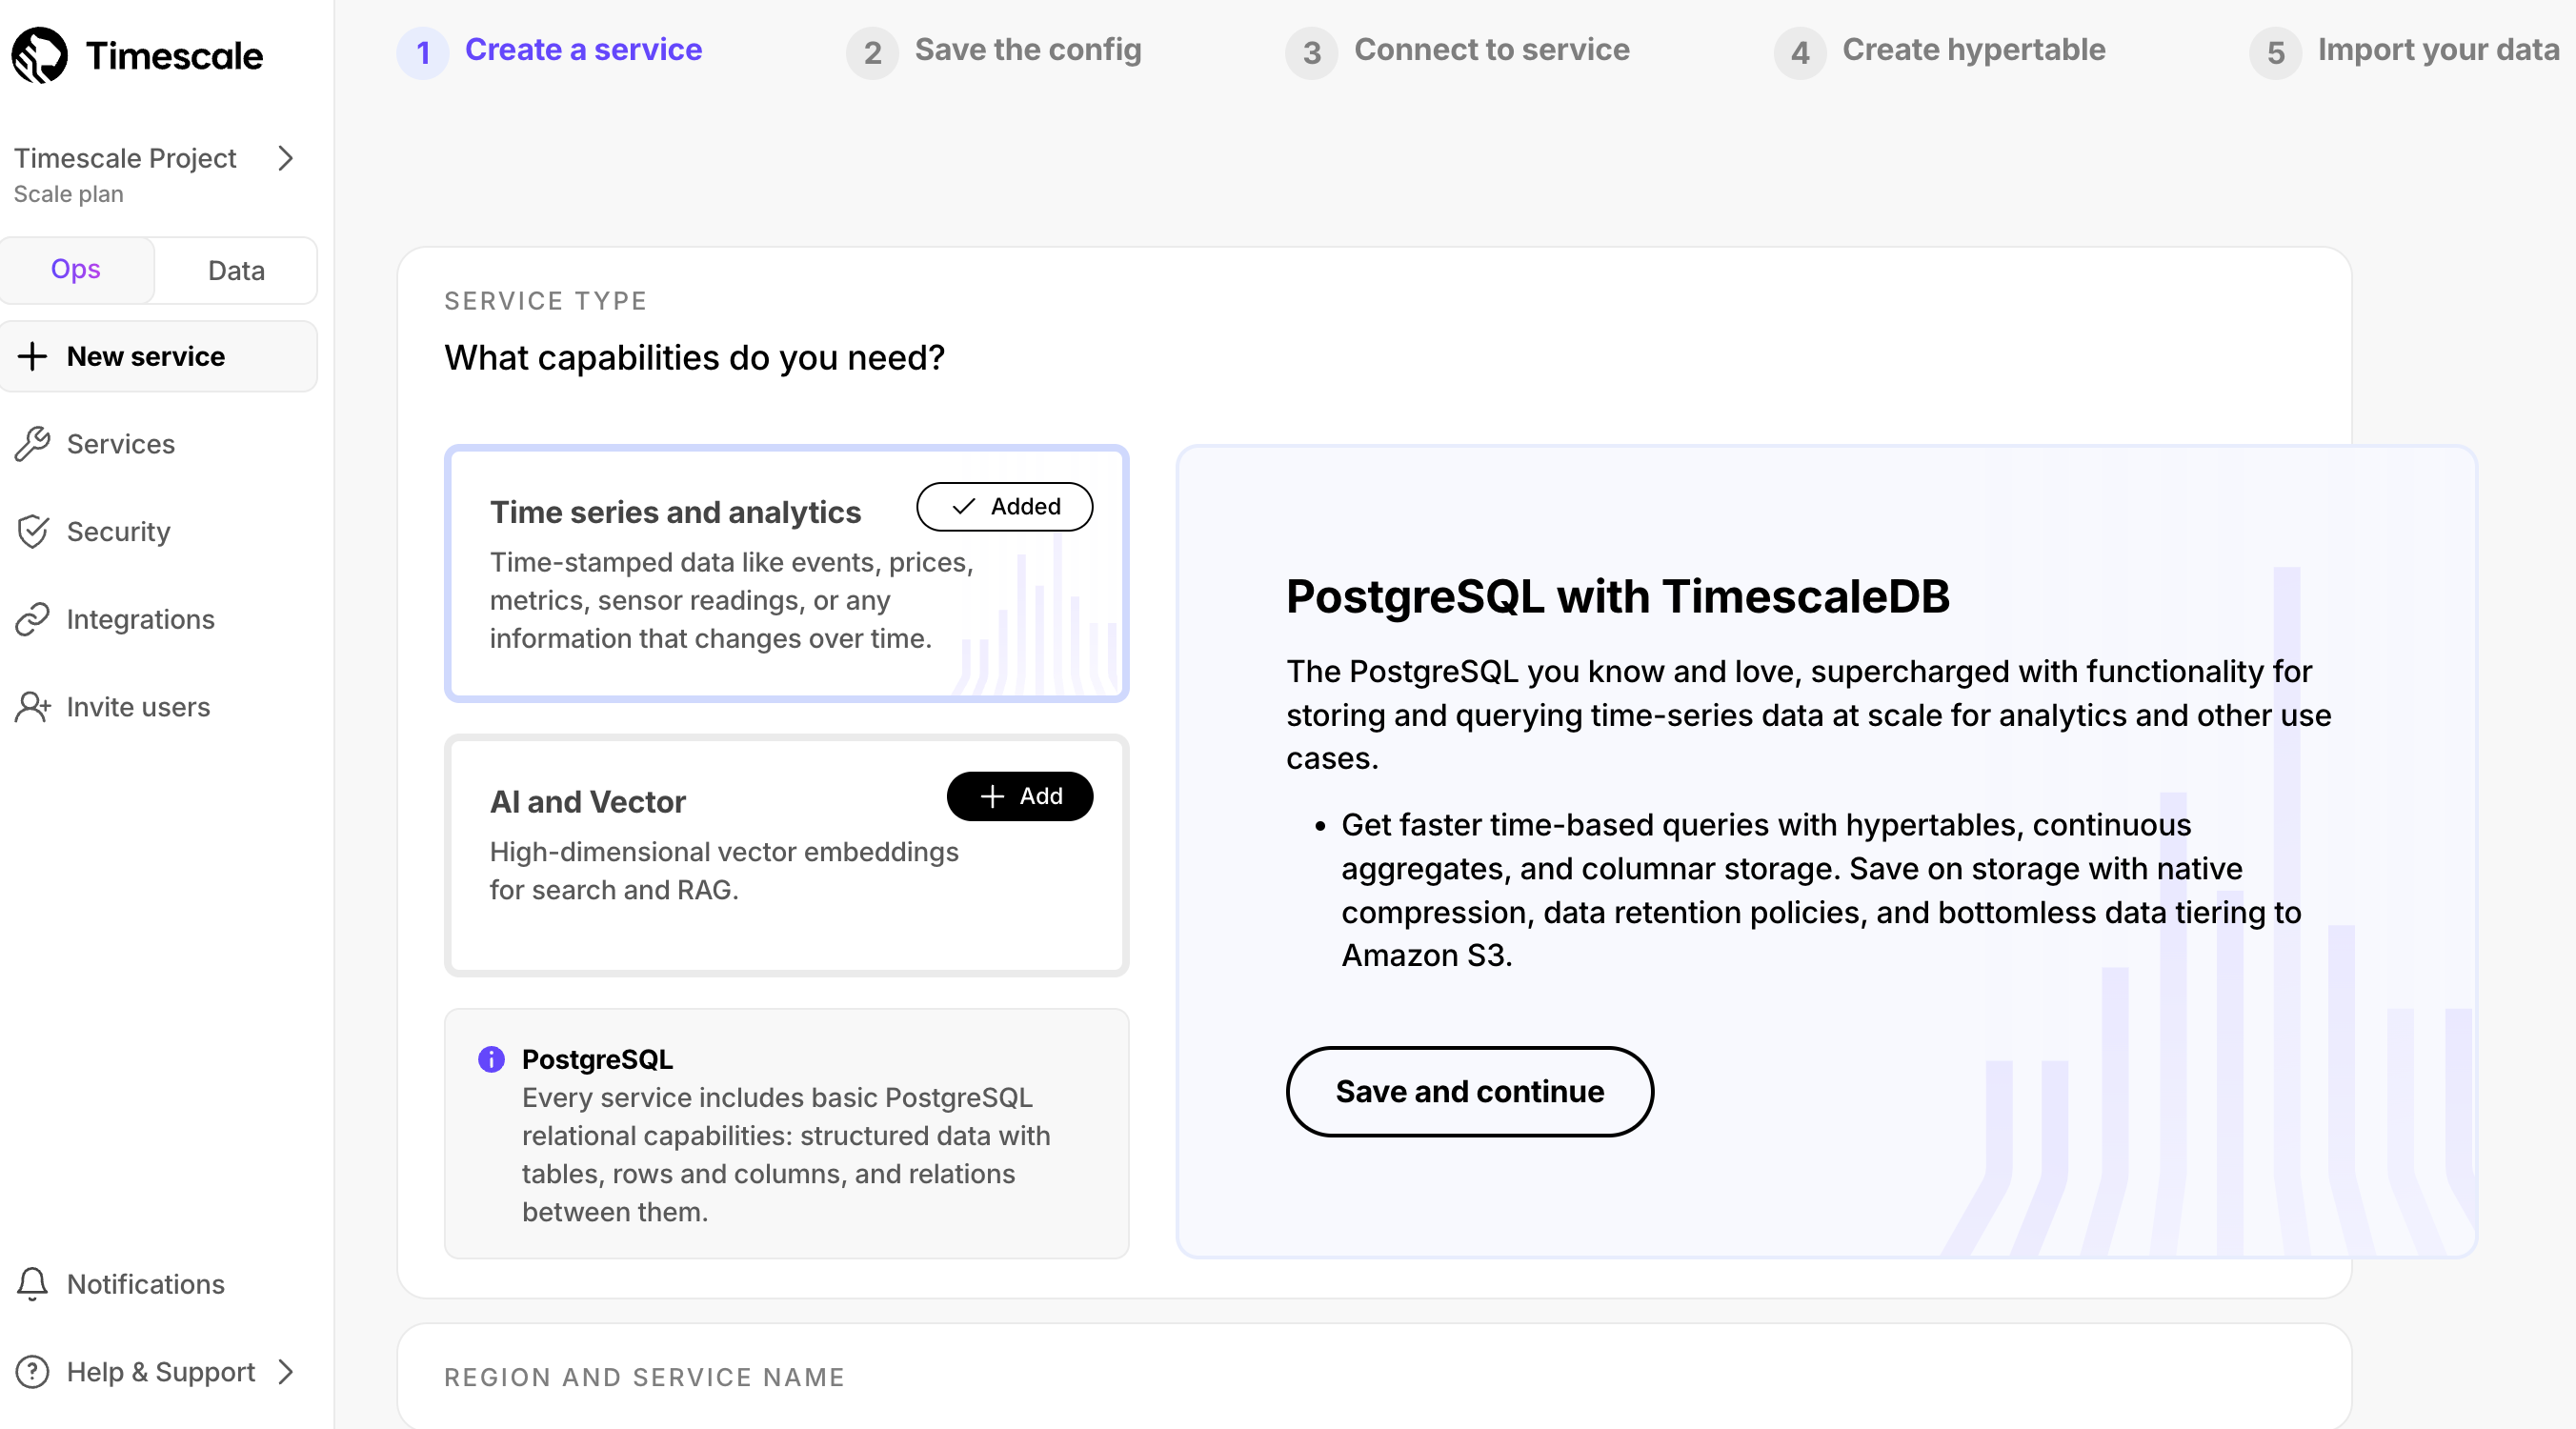
Follow the next steps in
Create a serviceto configure the compute size, environment, availability, region, and service name. Then clickCreate service.Your service is constructed immediately and is ready to use.
Click
Download the configand store the configuration information you need to connect to this service in a secure location.This file contains the passwords and configuration information you need to connect to your service using the Timescale Console data mode, from the command line, or using third-party database administration tools.
If you choose to go directly to the service overview, Check your service and connect to it shows you how to connect.
A Timescale service comes with access control to its data. To be able to run queries and perform other operations, connect to the service with credentials generated during its creation.
To connect to a service:
Check your service is running correctly
In Timescale Console, check that your service is marked as
Running.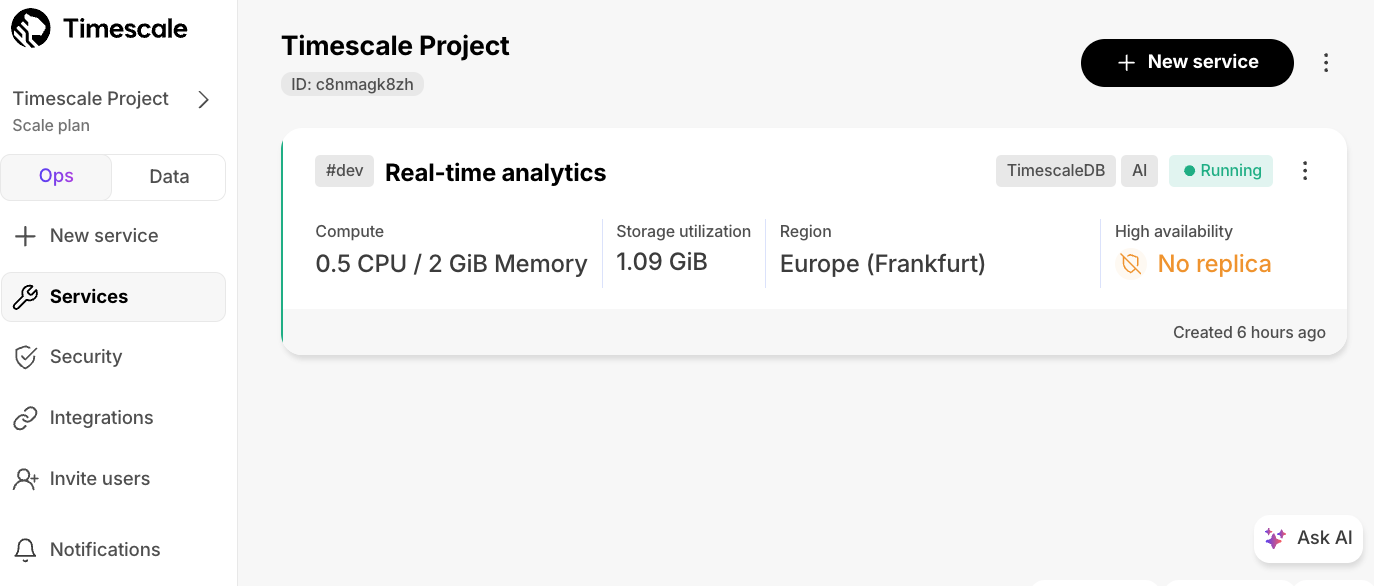
Connect to your service
Use either:
Data mode in Timescale Console:
In the data mode in Timescale Console, select a service and enter your password, then click Connect.
You find your password in the config file you just downloaded.
Select a query to edit:
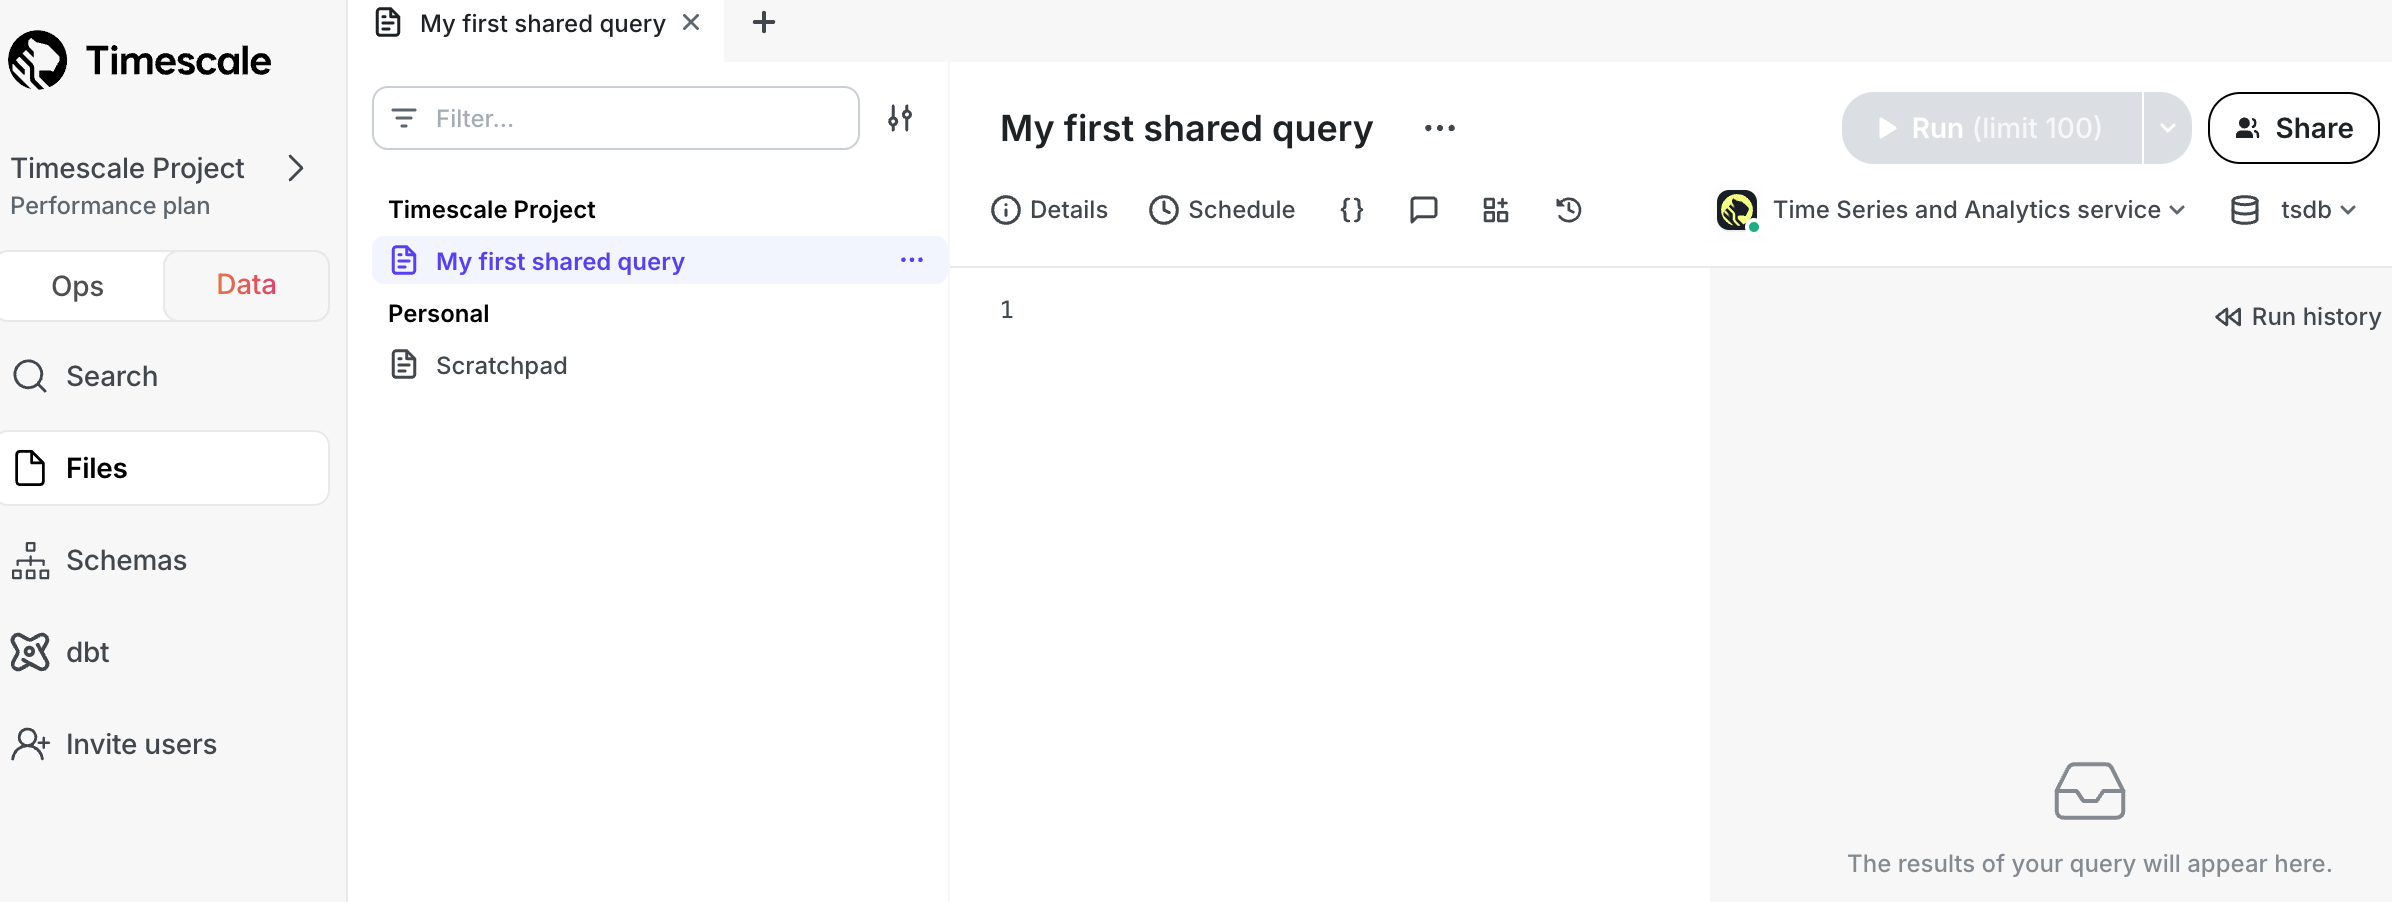
SQL editor in Timescale Console:
In the ops mode in Timescale Console, select a service, then click SQL editor.
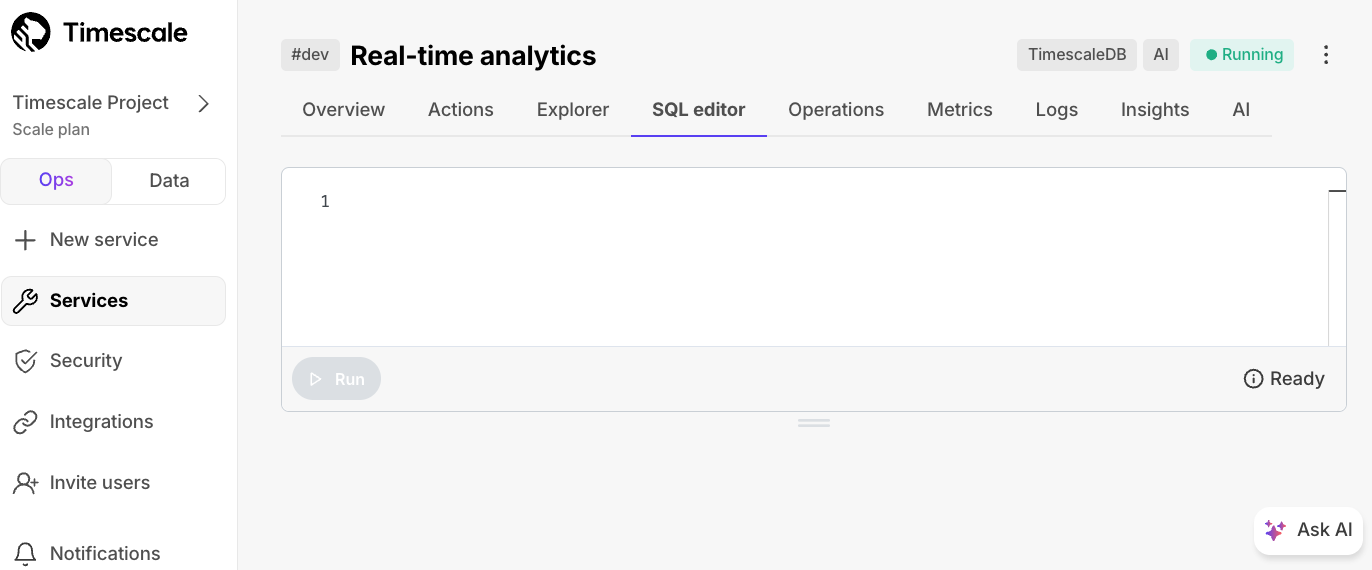
psql on the command line:
Connect to your service with the value of
Service URLfrom the config file you just saved:psql "postgres://tsdbadmin:<PASSWORD>@<HOST>:<PORT>/tsdb?sslmode=require"
You can now run queries for this service.
Quick recap. You:
- Manage your services in the ops mode in Timescale Console: add read replicas and enable high-availability, configure compression, change parameters, and so on.
- Analyze your data in the data mode in Timescale Console: write queries with autocomplete, save them in folders, share them, create charts/dashboards, and much more.
- Store configuration and security information in your config file.
Hypertables are PostgreSQL tables that automatically partition your data by time. You interact with hypertables in the same way as regular PostgreSQL tables, but with extra features that makes managing your time-series data much easier.
To create a hypertable:
Connect to your service
In Timescale Console, click
Data, then select a service.Create a PostgreSQL table
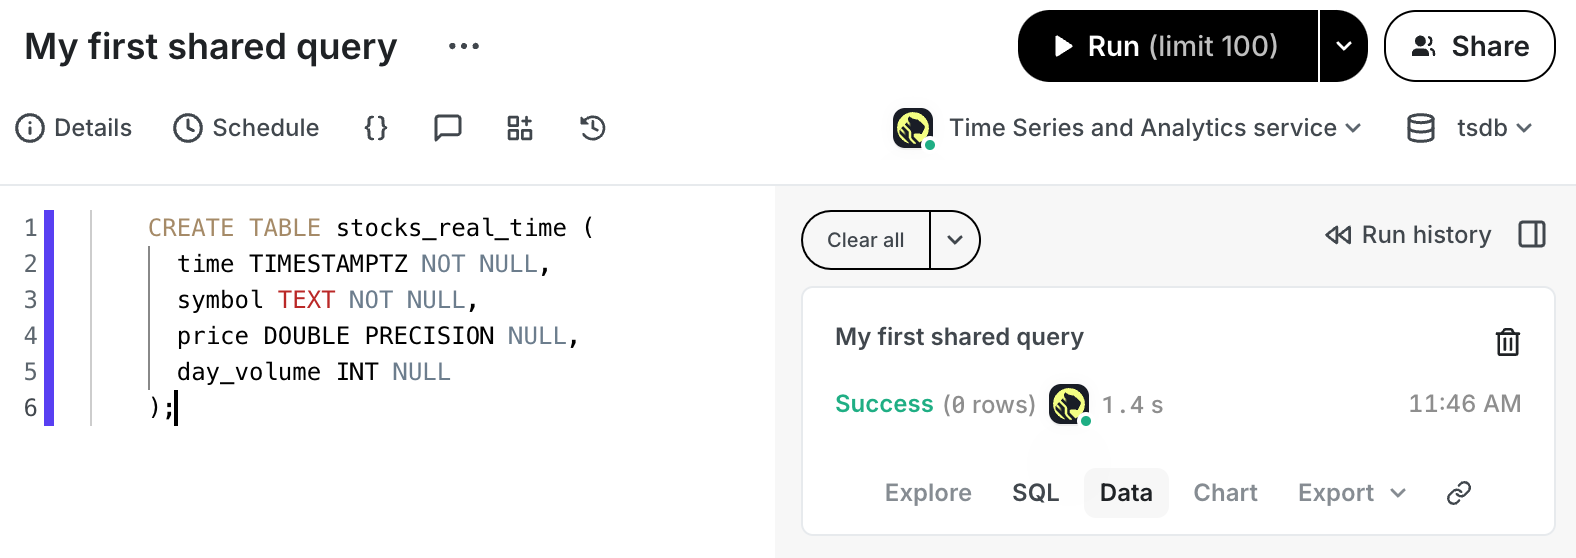
Copy the following into your query, then click
Run:CREATE TABLE stocks_real_time (time TIMESTAMPTZ NOT NULL,symbol TEXT NOT NULL,price DOUBLE PRECISION NULL,day_volume INT NULL);You see the result immediately:
Make a hypertable
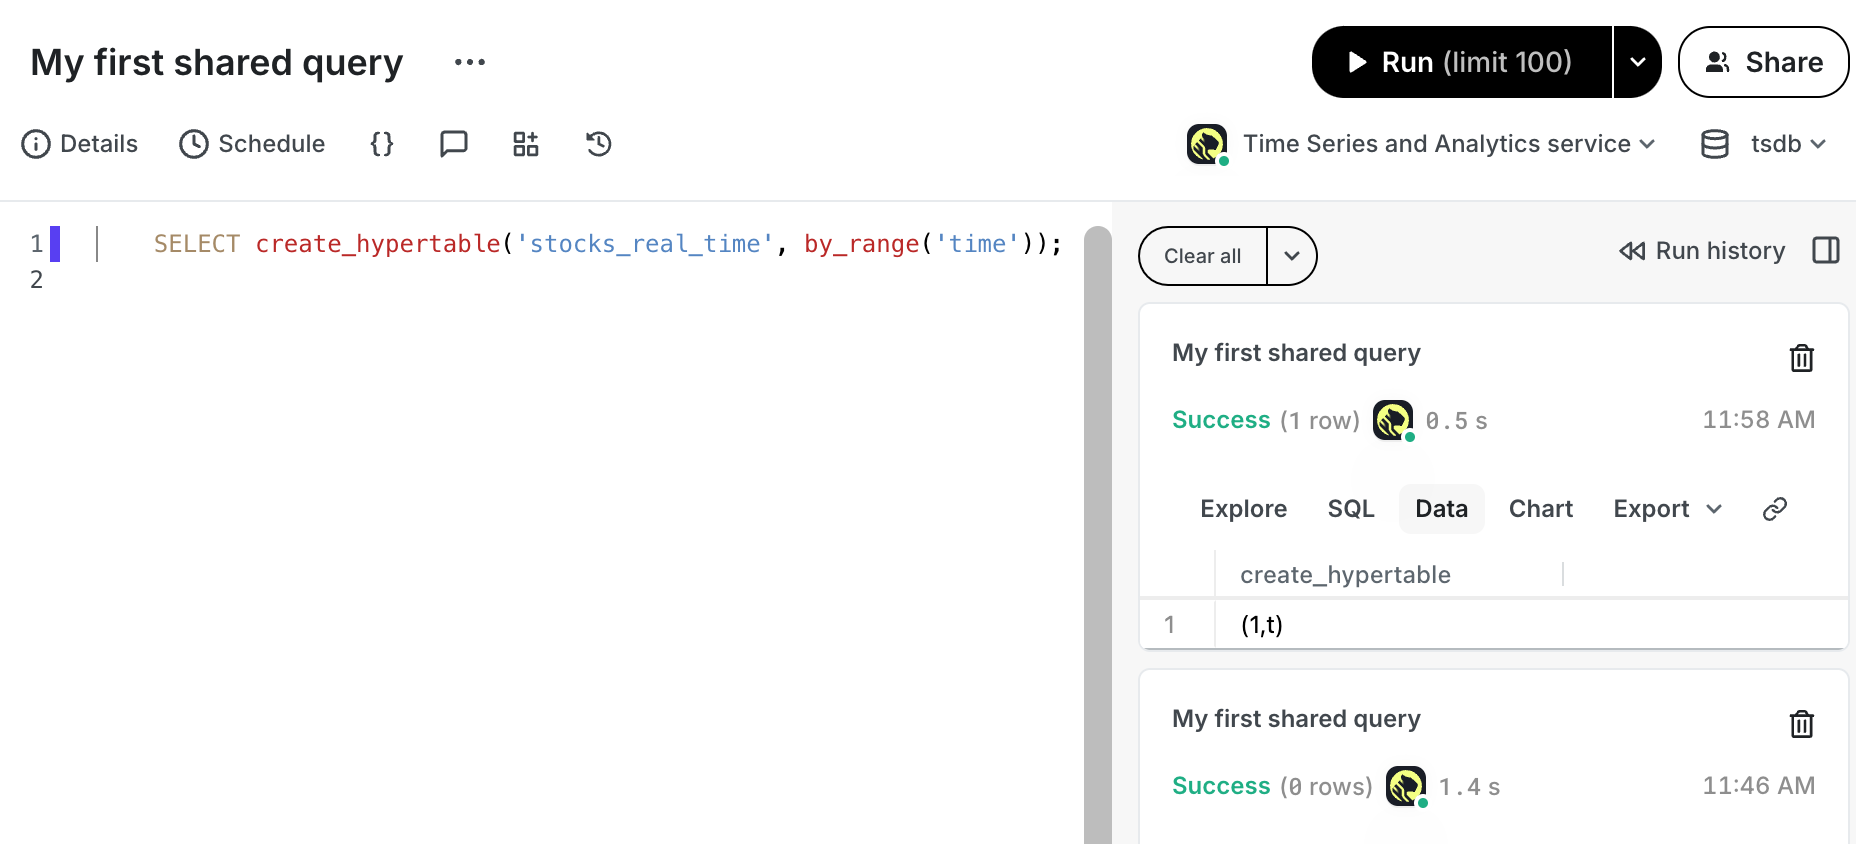
Copy the following into your SQL editor, then run your query:
SELECT create_hypertable('stocks_real_time', by_range('time'));In data mode, you see the result immediately:
And that is it, you are up and running. Enjoy developing with Timescale.
Found an issue on this page?Report an issue or Edit this page in GitHub.